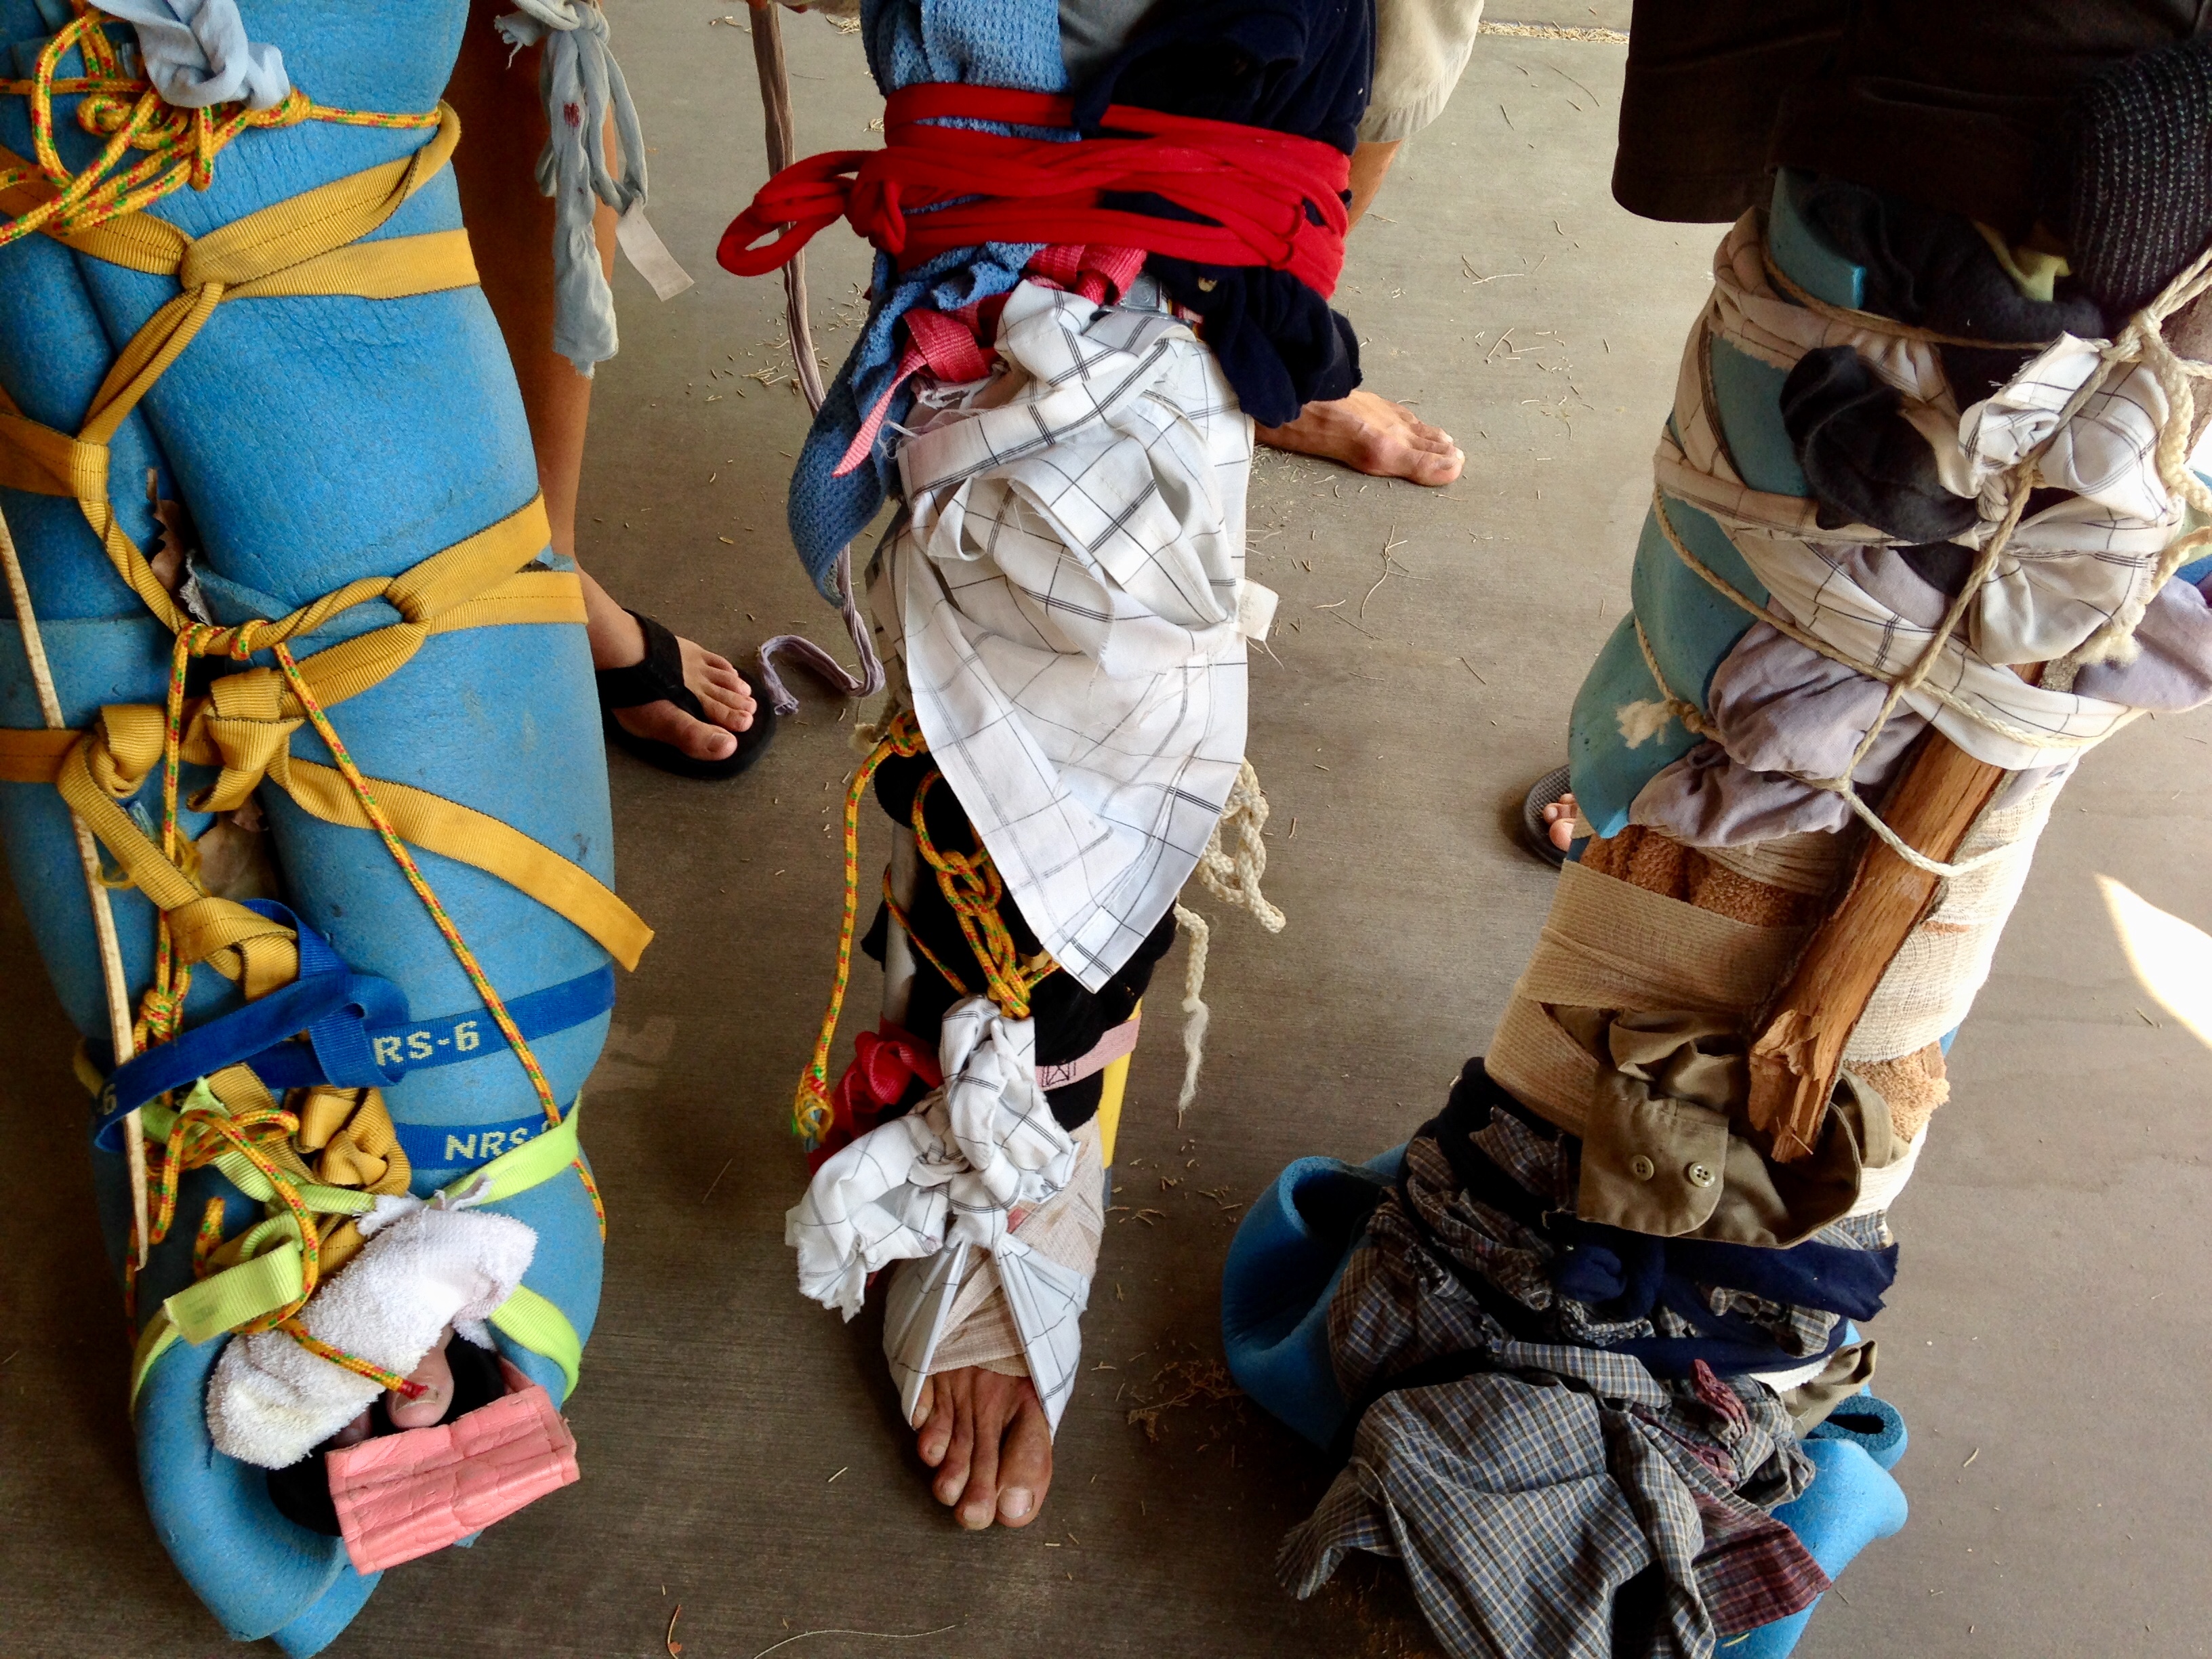
Orthopedic Injuries in the Wilderness

Increasing numbers of adventurers are seeking the solace and beauty of the backcountry either on skis, mountain biking or on foot. There is a degree of risk involved in venturing into the wild where cell phones don’t work and professional medical resources are nonexistent. In a remote setting, what should a buddy do to help an injured friend and not exacerbate the injury? A basic understanding of first aid and creative use of available natural resources can impact the outcome of a bad situation.
NIH data confirms that 70% of non-fatal injuries in the wilderness are broken limbs or sprains. Turning an ankle on a steep trail is one of the most common injuries. Ankle injuries account for 53% of all injury evacuations during the National Outdoor Leadership School courses. As a lay-responder, diagnosing a strain, sprain, ligament tear, dislocation, or fracture is nearly impossible. The first step is to implement the RICE method: rest, ice, compression, and elevation. Reduce the swelling by icing the area with snow or a t-shirt soaked in a mountain stream. Compress the joint with an ace bandage or bandana, but don’t cut off circulation. Elevate the injury above the heart. RICE for 20 minutes. Now is the injured friend able to walk? If so, it may be necessary to create a splint for a leg or ankle injury and use a hiking pole or wooden stick to bear some of the weight and help with balance. During the walk back to civilization, stop to rest every two hours and RICE again. If there is doubt about the seriousness of an injury, treat it as a fracture. Signs that an injury is indeed a fracture include a limited range of motion, tenderness and bruising, pain in the injured area, possible deformity, inability to bear weight, and a grating sensation when moved. During the accident, he or she may have heard or felt a pop or break. After the RICE treatment to relieve pain and reduce swelling, build a splint with available resources to prevent movement and protect the injured part from further damage.
To create a splint in the wilderness:
- Cutaway clothing if it cannot be removed without moving the injured body part.
- Stop any bleeding by applying gentle pressure. Cover open wounds with a clean dressing before splinting.
- Pad the injured joint with jackets, sleeping bags or clothing.
- Include the joint above and below the injury in the splint.
- Make a splint with two straight objects, ski or hiking poles, tree branches, canoe paddle, etc., and position them around the fracture.
- Tighten the splint using a belt or ropes or whatever is available.
- Keep the injured limb tied tightly to begin the long, slow hike out.
- Check the splint ties frequently to be sure they do not hinder circulation.
Shoulder, clavicle, upper arm, elbow, forearm, wrist, and hand can be stabilized with a sling and swathe around the chest splint:
Shoulder fractures: Sling immobilization.
Upper arm fractures: Immobilize in a splint and swathe arm against the body.
Hand fractures: Immobilize with buddy taping and hand splint.
If a fractured hip is suspected, the injured person must be carried out on a sled or in a helicopter. Contact Search and Rescue as soon as a phone has service. Whether walking out or transporting a friend on a makeshift sled, the injured person needs definitive care immediately. For orthopedic injuries, the best immediate care option is Direct Orthopedic Care. Open seven days a week to diagnose and treat any musculoskeletal injuries that happen in the wild.
For more information on the cost of care, click here.


